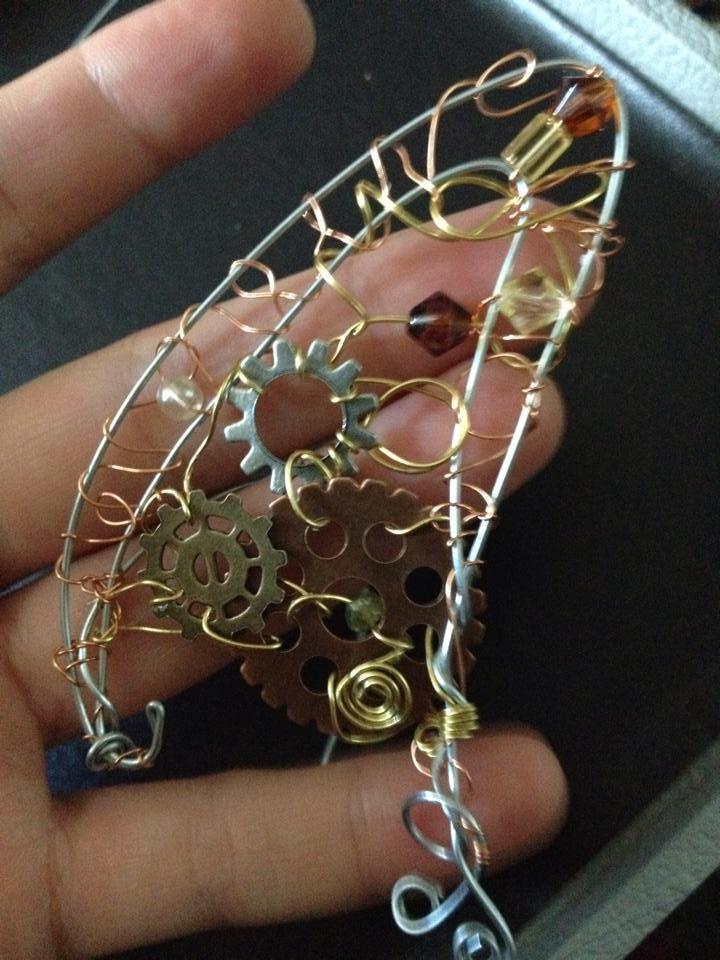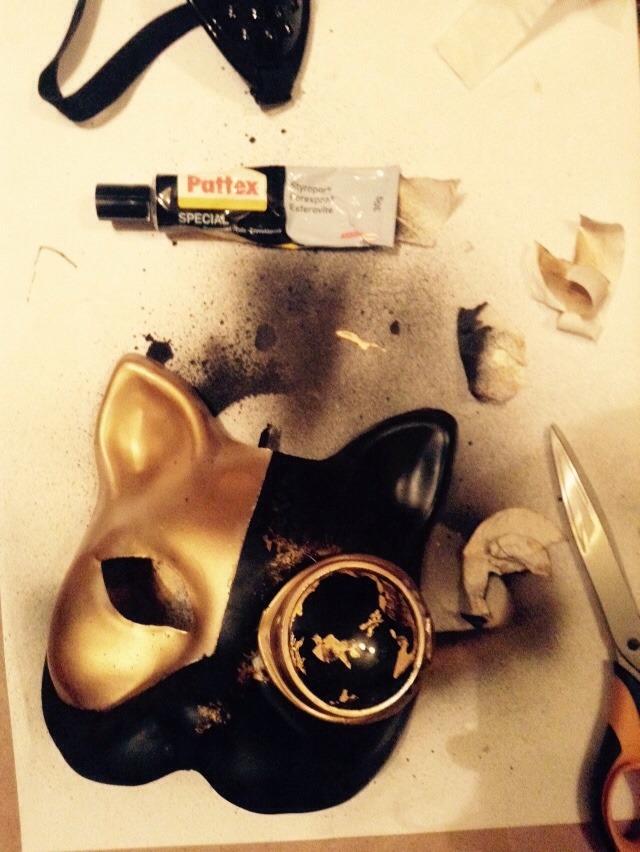
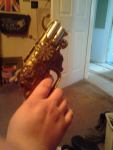
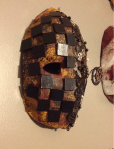
I tried making a steampunk cat mask today…
Very cool! I love it! ^_^
meh
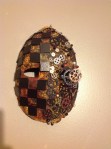
I tried making a steampunk cat mask today…
Very cool! I love it! ^_^
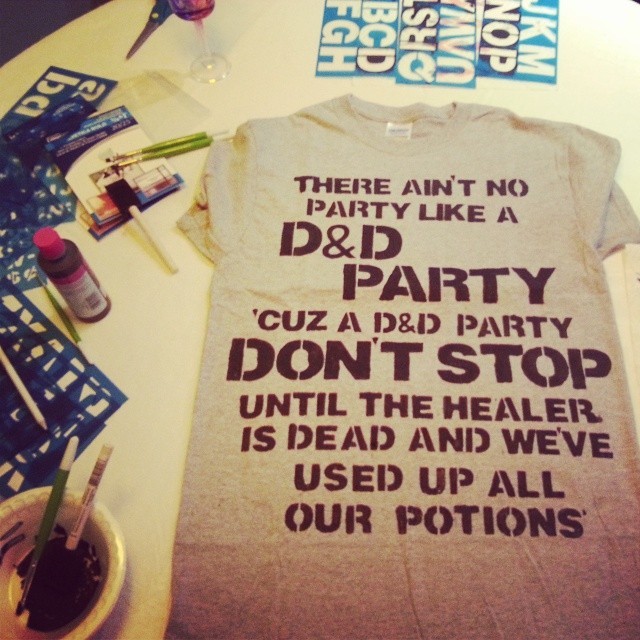
I’m doing Steampunk this Halloween
And though this was the first time I’ve done something like this, I think it turned out great…. I wanna do more…Very cool!
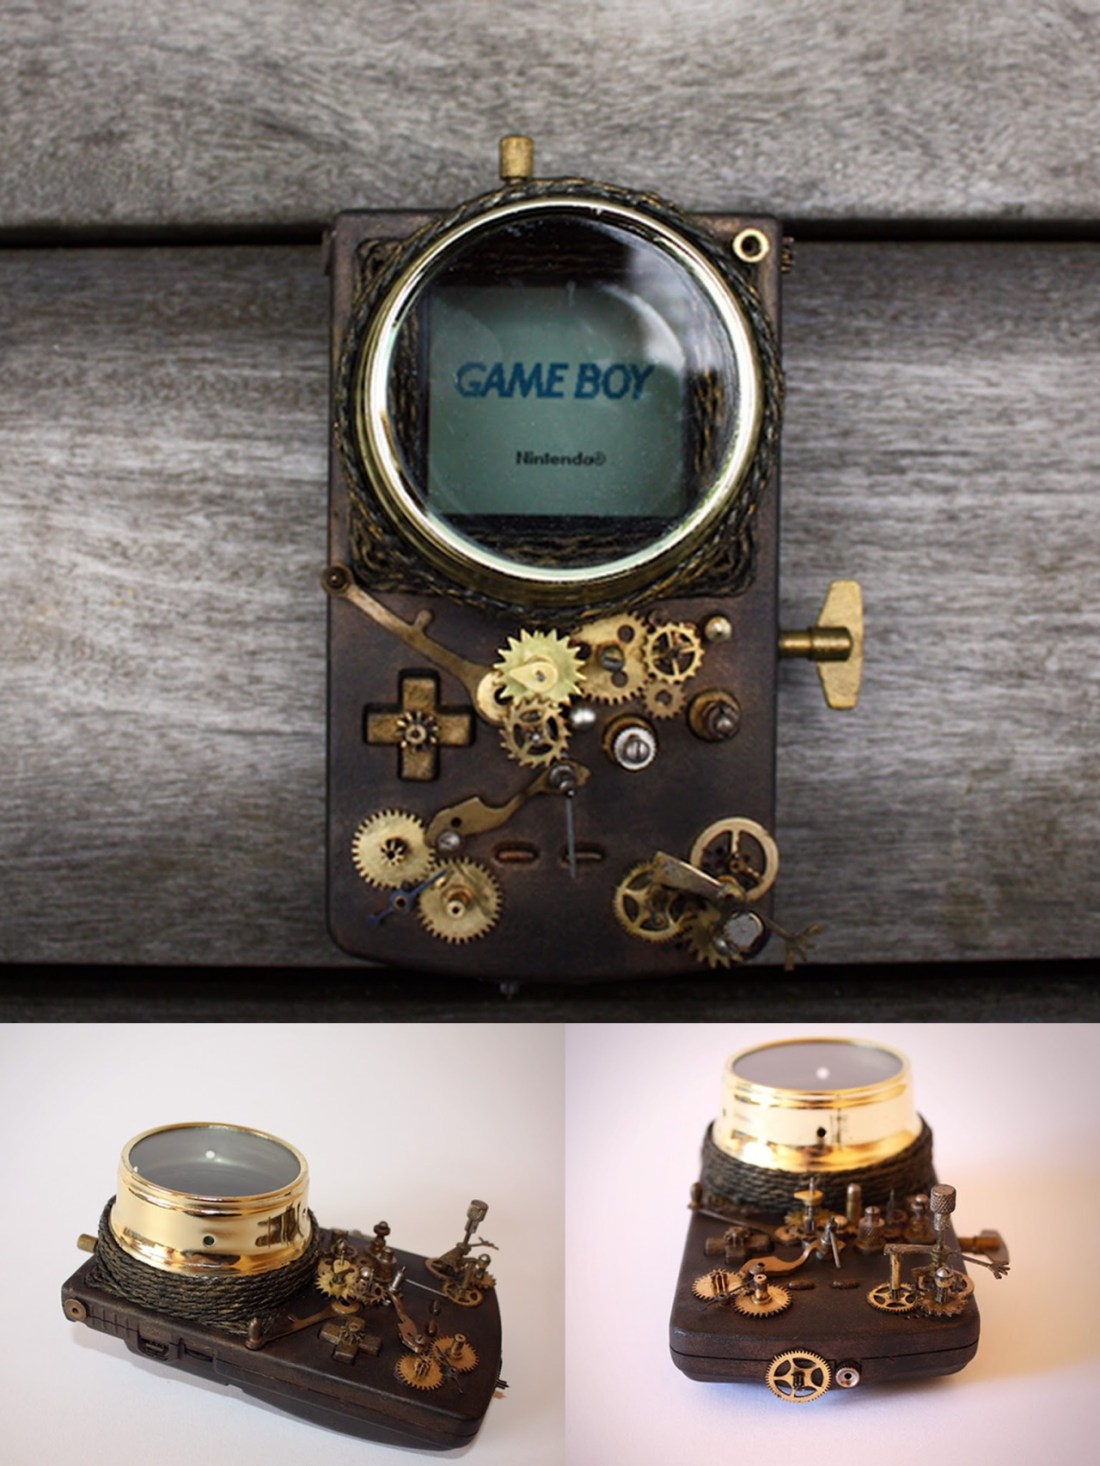
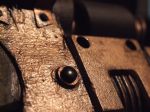
🎩 Steampunk Game Boy
View more: http://goo.gl/mrxAXP👍 Check out our community : https://plus.google.com/u/0/b/109129921515735293128/communities/108140587796767189247
#design #steampunk #gaming #gameboy #diycrafts #crafts #steampunktendencies
Click here for the original tutorial page on DevilKaito’s DeviantArt
Sweet Jesus, this took me forever because I’m not too familiar with German, but I’ve translated this into English.
My apologies in advance to any German-speaking people if I’ve butchered this, but with Google Translate and studying these pictures, I’m pretty sure I’ve got the gist of it. Anyway! Here’s the approximate translation of the tutorial for these rad-looking horns!
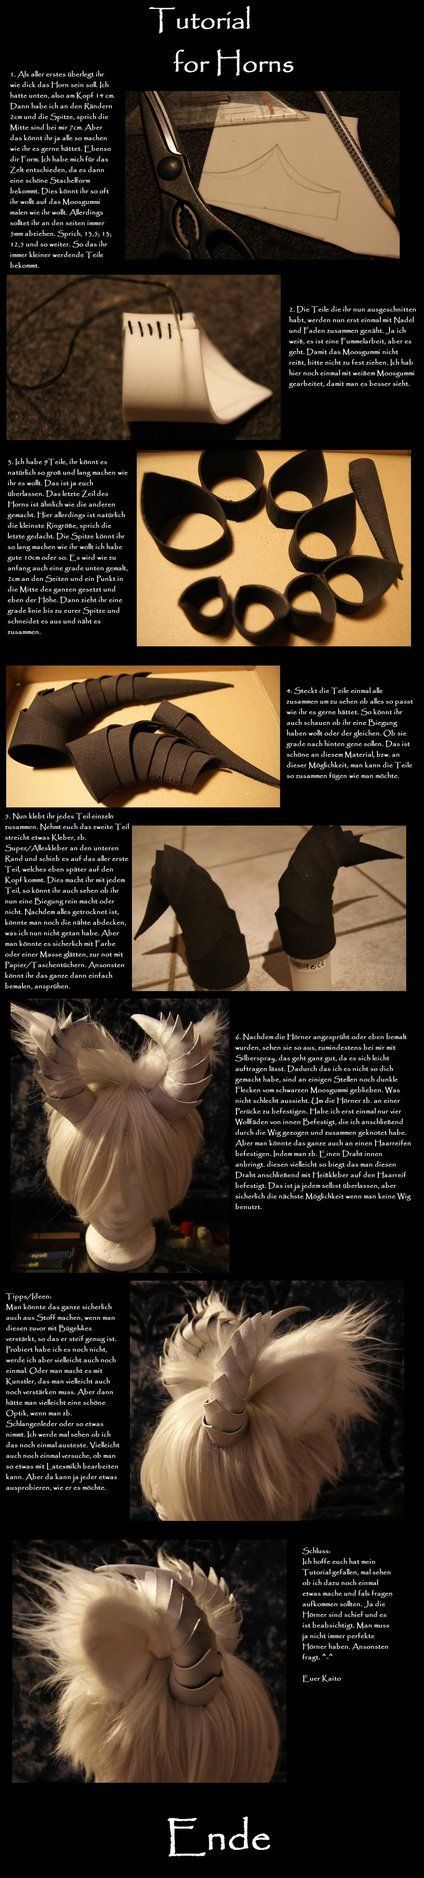
Tutorial for Horns, by DevilKato:
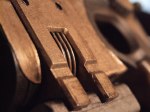
1: First, consider how thick your horns should be. Mine are 14cm at the bottom, 2cm on the sides, and 7cm at the middle of the peak. However, you can make them as you want. As for the shape, I chose points, which look nicely thorny. You can paint them whatever color you like. Additional pieces should be 5mm smaller, so at the bottom they’d be 13.5cm, 13cm, 12.5cm and so on.
2. Now that the pieces are cut out, sew the edges together with a needle and thread. Yes, it’s a bit of work but that’s just how it goes. Be careful not to pull too tightly or your foam will tear. I have used white foam here so it is easier to see.
3. I have 9 pieces, but it is up to you how many you want. The last bit is similar to the other, but smaller than the smallest ring. The tip can be as long as you like – mine is about 10cm. Start at the bottom and draw a line to where you want the tip to be. Cut the shape out and sew the edges together.
4. Put the pieces together to make sure they fit. You can adjust them to give the horns a bend, or just let them lean back. That’s the nice thing about this material, you can do with it what you like.
5. Glue the parts together. Superglue along the lower edge of each piece, pushing it onto the piece beneath it. This is the part where you can bend or shape the horn. After everything has dried, you can cover the seams, which I haven’t done yet. Though you certainly could with paint or fabric(??). Or you can just spraypaint the whole thing.
6. After the horns are painted, they look like this. I used silver spraypaint, which looks nice and is easy to apply. It didn’t get all over, so there are still black foam parts showing. But that doesn’t look bad. To attach these to a wig, I put four threads through the inside, pulled through the wig, and knotted them together. But you could also just fasten them to your own hair. For example, by attaching a wire inside and hot gluing to a headband. That’s up to you, but certainly an option if you aren’t using a wig.
7: Tips/Ideas
Reinforce with iron-on fleece to strengthen the horns (I think. Google Translate got sorta wonky at this part.) I have not tried this yet, but I might to add more strength. It also might give a nice effect like snakeskin or something. I’ll see if I try this again. You could also try working with liquid latex.8: Closing
I hope you enjoyed my tutorial. If you want me to do something like this again, please ask. Yes, the horns are crooked and that is intentional. I have decided to not always have perfect horns unless requested.
Yours, Kaito
Here’s my steampunk mask haha,
He’s a little older too, but people seem to like him the most:o
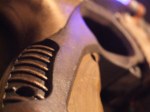
His eyepiece moves too,

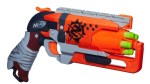
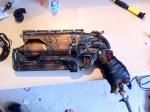

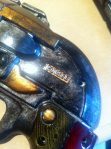
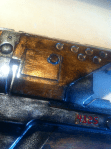
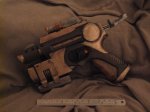
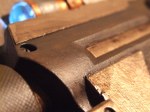
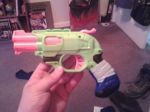
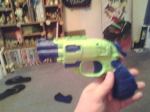
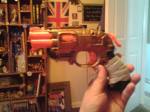
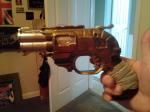
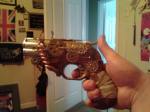
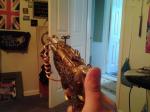
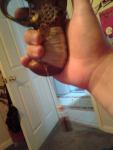
There we have it, my mostly-Firefly-partly-steampunk inspired Hammershot! Complete with leather handle wrap, old debit card detailing, and verdigris.
The button on the tassel thing matches those on my steampunk coat, too.
IT’S ALL COMING TOGETHER. The big middle photo is the closest to real-life colours. I’m not sure why the chassis is so gold in the last two…
I’d like to use it in HAZsoc but it’s not got enough safety colours on, and it’s a gorram work of art.

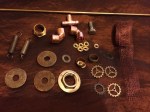
Decides to make a steampunk hot air balloon. I love the steampunk style and I believe it’s here to stay, I’ve been wanting to make something for a while an after selling two steampunk trees. So I’ve decided to have a go at this balloon. I’m a complete novice with the style but I’ve found these cogs, gears, copper pipe an nicknacks so I’m having a go.